 One of the many Airsoft “myths” you’ll read on the internet are that Real Sword AK’s are picky about magazines. Rather the contrary, these can be adapted to function off of virtually any Airsoft 47/AKM pattern magazine in production. 9 times out of 10, this is simply a case of having to file on the back of the magazine catch until the magazine locks in place. In this customers example, I have adapted some G&P 150 round Midcaps to fit by doing some light filing on the back of the magazine catch. Testing shows that they feed perfectly.
That being said, there are actually surprisingly few quality AK magazines on the market. The main fault lies not within the internal construction (most midcaps follow the same internal design), but rather, the externals. To my knowledge, Real Sword magazines are the only ones with fully welded steel locking lugs. To Real Sword’s credit, these are in fact converted real steel magazines which lends them their bombproof construction. Everything else manufactured out there uses either plastic or pot-metal, and it is the rear locking lug that fails the most in these designs. The other notable difference is Real Sword magazines are made from the Chinese pattern which omits the narrow “rib” on the back of the magazine. Whereas essentially all other metal 47/AKM style magazines are based off of Russian / Eastern Bloc style and have the ribs (polymer / waffle mags excluded).
The main drawback of using mags with plastic locking lugs out of the Real Sword rifle is that the magazine release spring used on the Real Sword is substantially stronger than other AEG counterparts. It’s the same used on real steel, and will in effect, chew up the flimsy plastic mag catches in short stride.
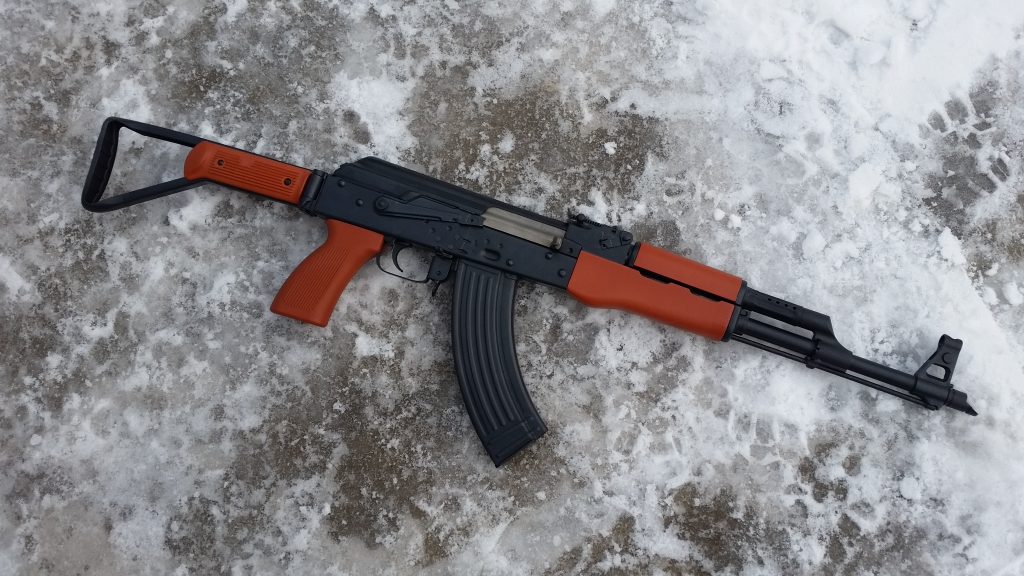
Unfortunately, Real Sword midcaps have been out of stock for quite some time now. My customer for this particular Type 56-2 was really only interested in having an all-Chinese rifle despite the ease of converting other midcaps to fit. Ironically, Real Sword hicaps are thus far in plentiful supply and can be ordered from a few US retailers, so I offered to convert some G&P midcap internals over to the Real Sword hicap externals so he could achieve the desired aesthetic.
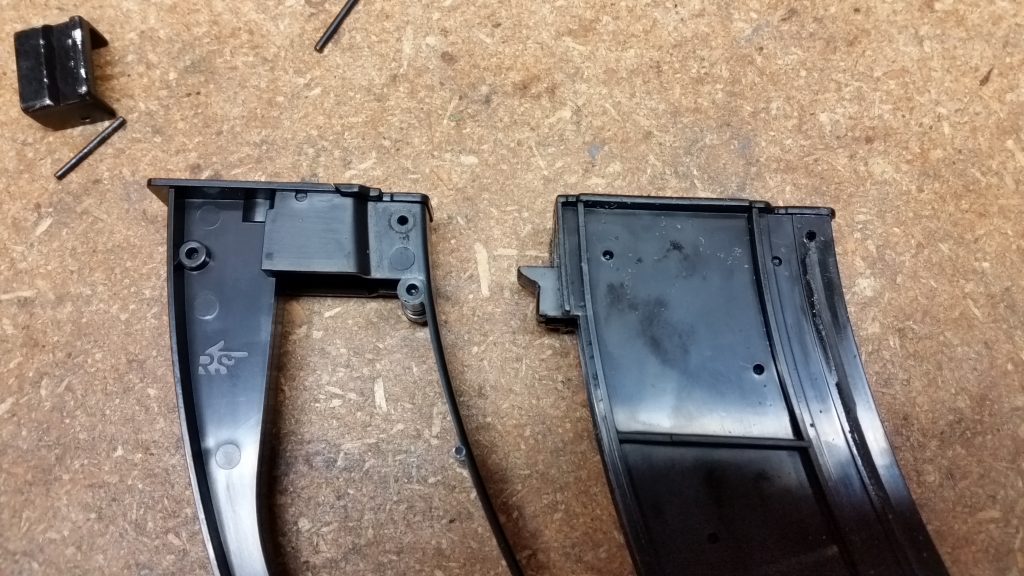
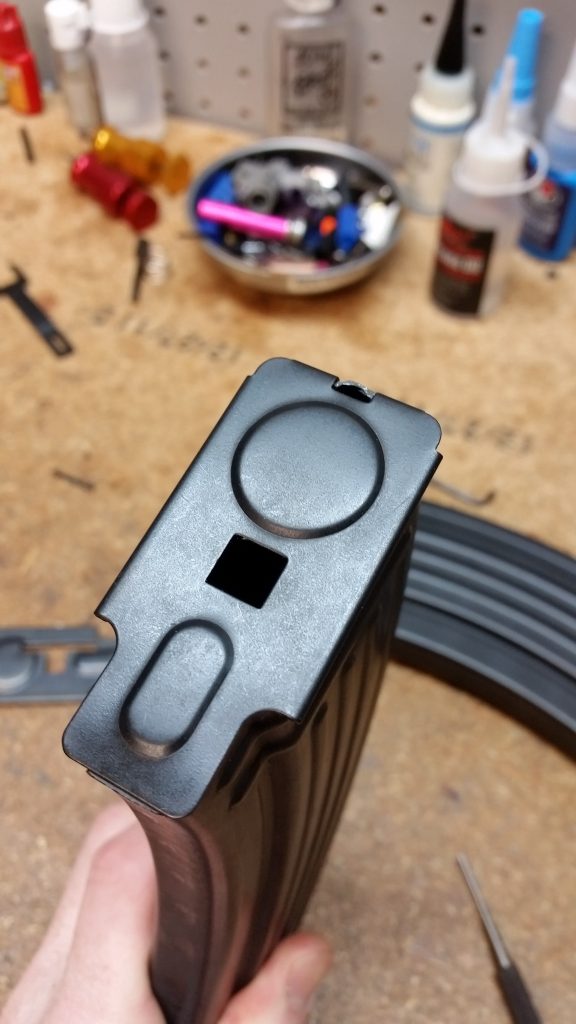
To begin, you simply need to tap out the retaining pin near the front locking lug of the magazines you will be working on. Thereafter, the internals can be slide out through the top of the magazine.
There is some minor difference in the widths between the Real Sword internals and the G&P. The G&P is slightly wider, and will therefore have to be filed down to fit the Real Sword magazine body. This is due in part to the external body of the G&P magazine being made of much thinner metal.
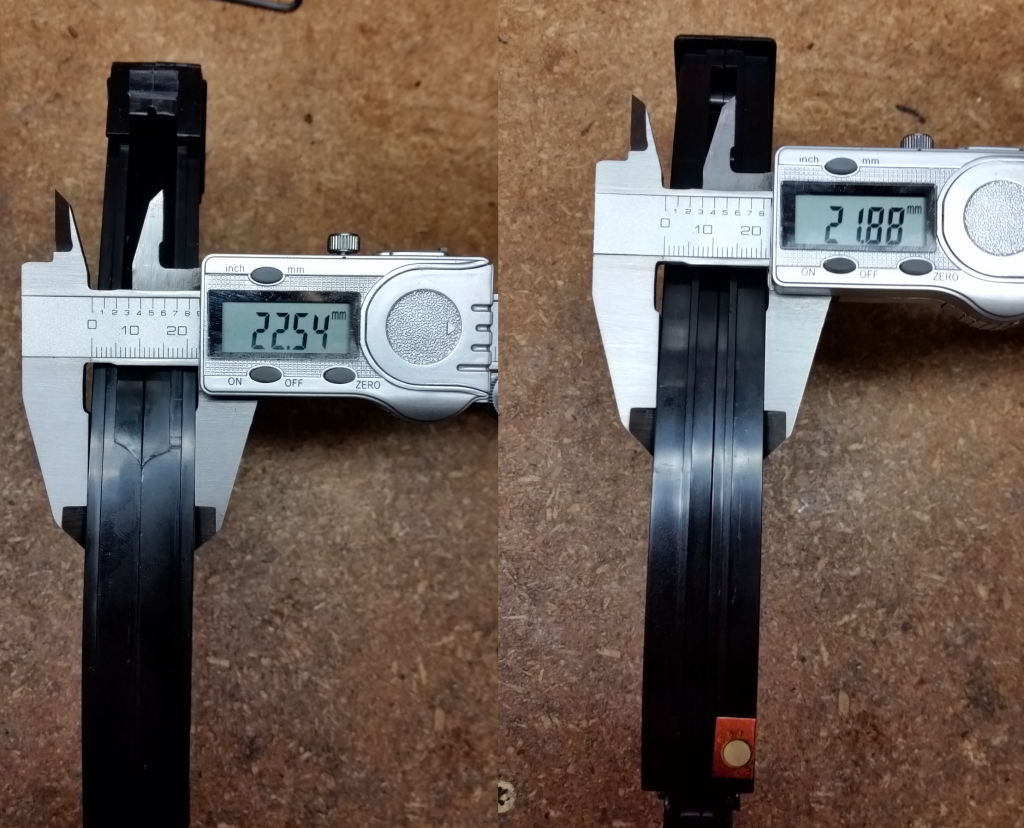
Fortunately, in the G&P’s case, you simply need to file down the raised ribs on the sides of the magazine, rather than the whole body. I recommend doing this evenly on both sides till you can slide the internal assembly into the magazine shell. If you only file one side, you potentially risk moving the position of the feed chute off center from the hop up chamber which can result in the inability of the magazine to lock into place.
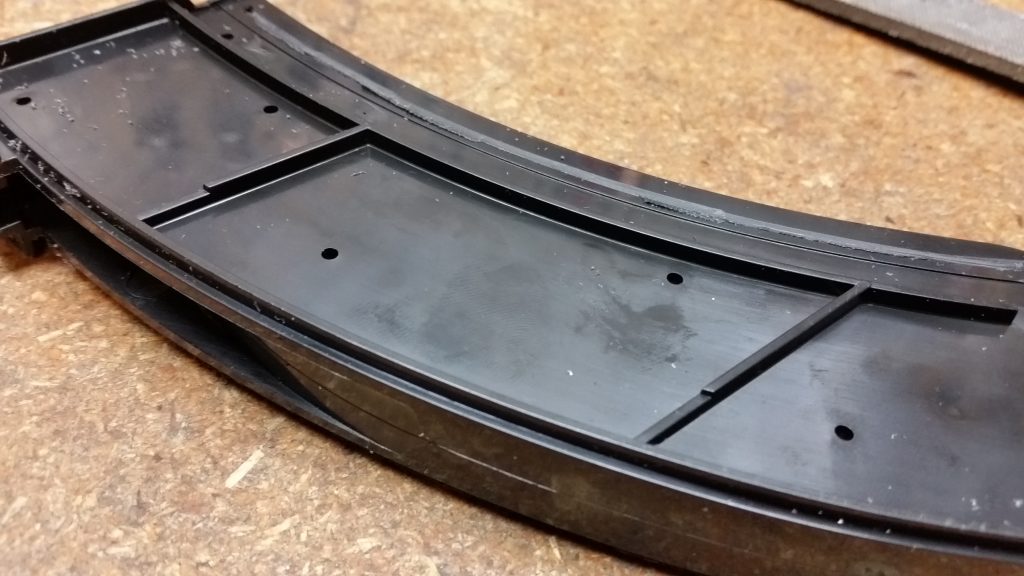
I used a large bastard file for this task, followed up by a finer file to clean up the file marks afterwards.
I should note that before you start filing it is a good idea to cover the feed chute and retainer spring area with a piece of tape to keep out all the debris you will be generating. In my case, I did this part, but still wound up completely disassembling the magazine and washing it in hot soapy water afterwards to completely remove all the dust and filings.
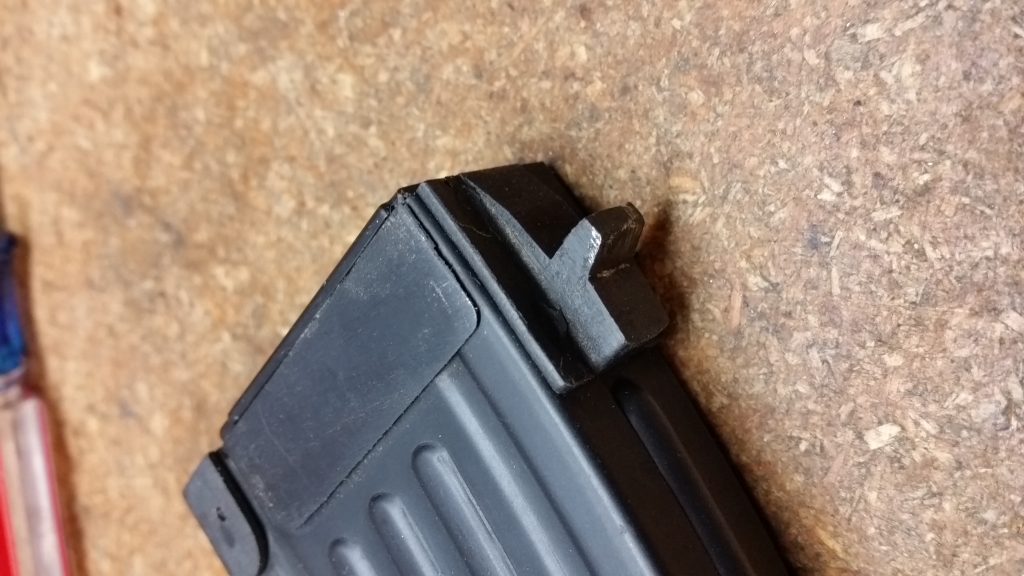
On the G&P mag, you will also have to cut off the plastic locking lug on the back of the magazine. I used a Dremel with a cutoff wheel to cut it off and then cleaned it up with a file, bringing the surface down to the rest of the body.
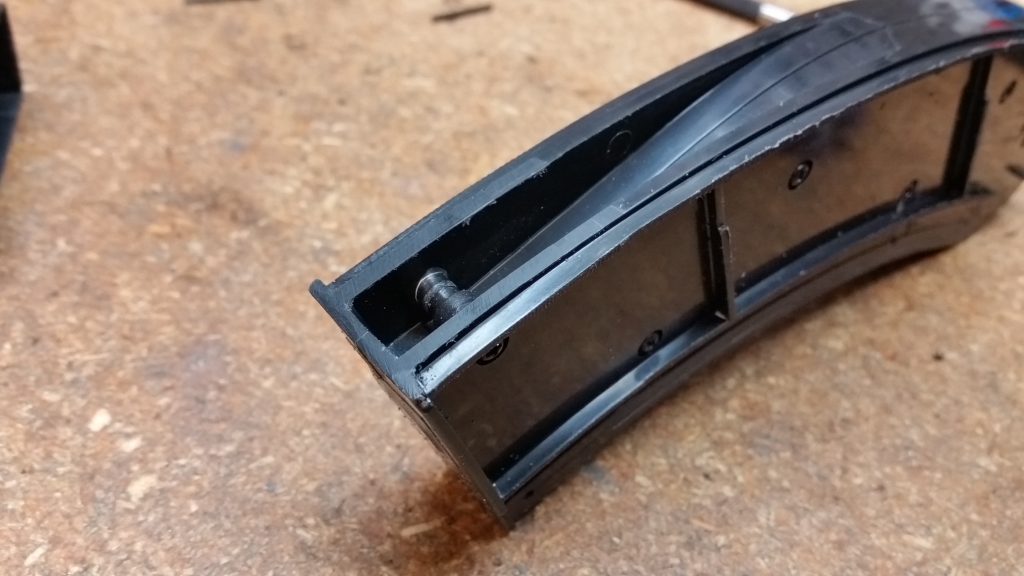
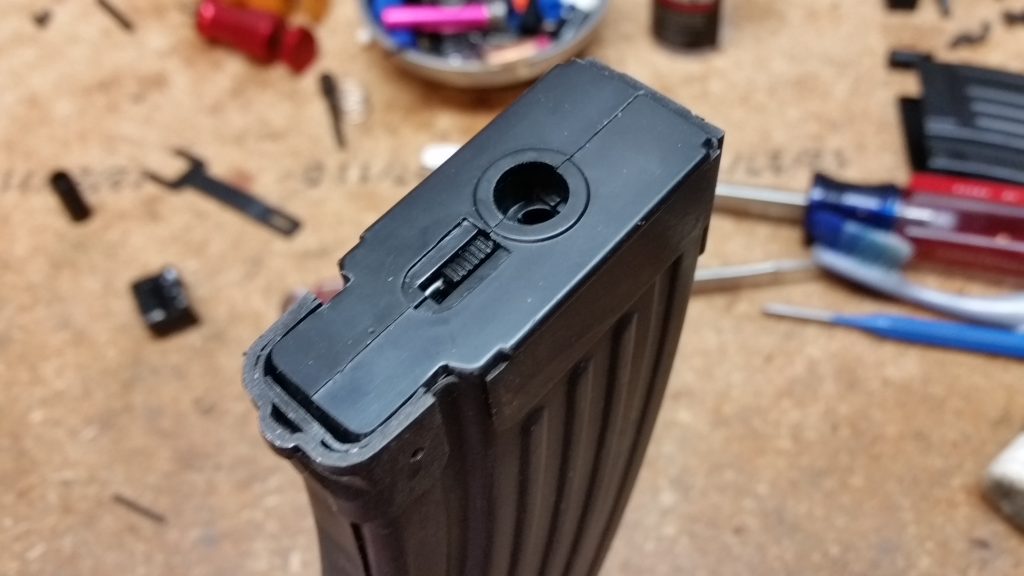
The next step is to do some minor filing near the top of the magazine by the front locking lug. You’ll need to file the small lip flat to the rest of the magazine body. Without doing this, you can’t fully insert the midcap internal into the Real Sword shell and the retainer pin won’t line up either.

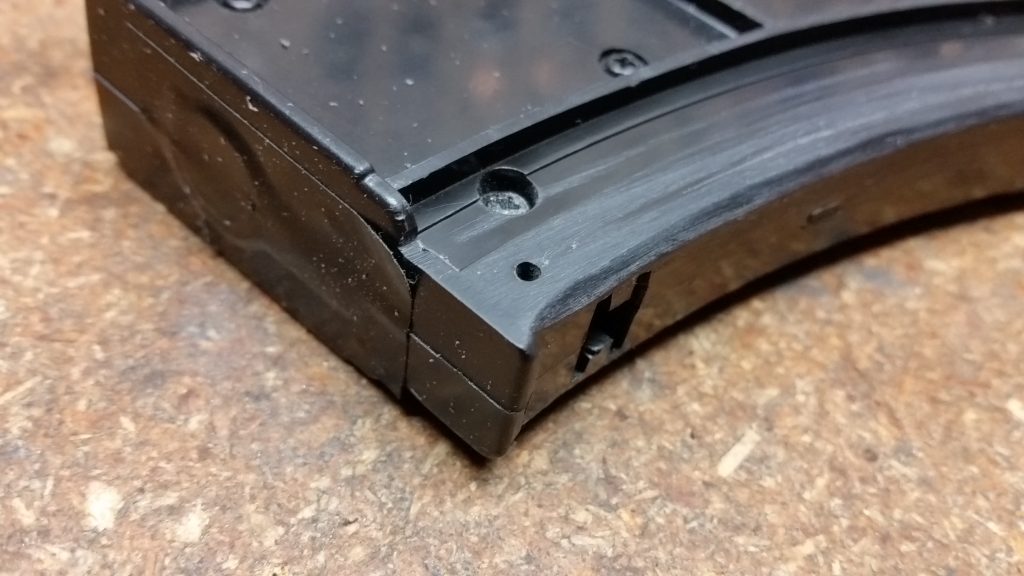
After this part is done, you may or may not have to chase out the retainer pin hole with a small drill bit. In my case, it was off just a tiny fraction, and I had to do this part.
One of the final steps is to transfer the floorplate of the G&P mag over to the Real Sword shell. The hicap Real Sword floorplate has an additional slot cut into it for the winding wheel. This is purely for aesthetic purposes, of course.
The last part is to check fit and function. If all has gone well, you will now have a perfectly functional midcap magazine! This is also a great way to revive your old and damaged Real Sword midcaps with new internals.
I suspect one could also do this using internals from other magazines, such as LCT, CYMA, etc. There may be minor variations on the amount of modding you will have to do based on the construction of their respective internals. All told, this represented about an hour of work to pull off. Once you know what needs to be done and have the process down, I believe it would be possible to crank one out in under 30 minutes or less.
Conversely, it would be quite feasible – if not expensive – to buy real steel Chinese import magazines, cut them down, and modify midcap (or hicap) internals to fit.