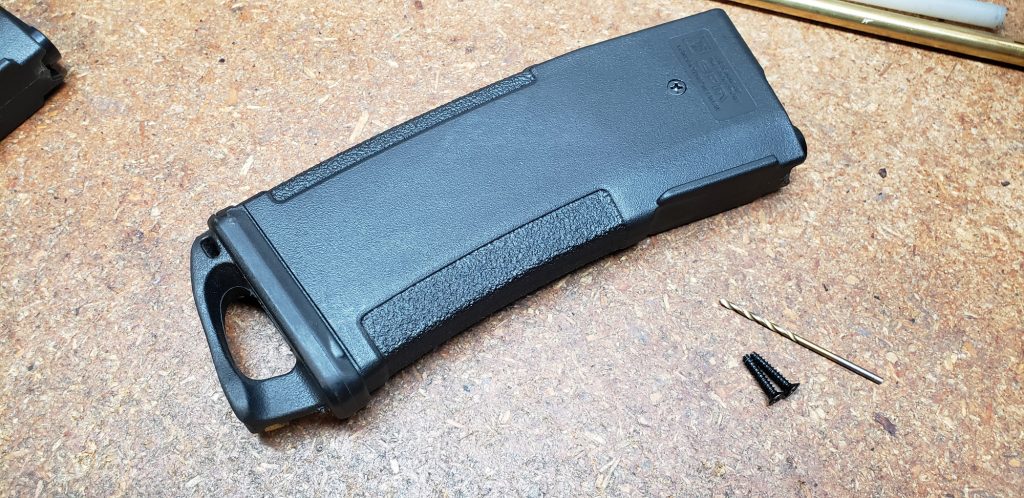
This guide will show you how to modify your PTS EPM Magazines for the KWA ERG and VM4 series to use Gen. 2 Magpul Ranger Plates. The design of this particular magazine differs substantially from the standard EPM in that it contains a user-configurable capacity selector switch; allowing you to convert the magazine capacity from 30 rounds to 120. The method by which the floor plates attach is also changed over the standard EPM – so unlike that model you can’t simply just slide on your Ranger Plates and go shoot things.
In this example, we are going to be removing the capacity selector switch as it’s not desired for this batch of magazines by the end user. It would be feasible to retain this feature, but this would obviously present a lot more work and would be best accomplished with a set of careful measurements, a template and a mill.
Step 1 – Disassembly & Modification
The first stage is to remove the floor plate, which will allow you to slide out the internals as one piece. This is done via removal of a single 2.5mm Allen type screw and sliding the floor plate forward and off.
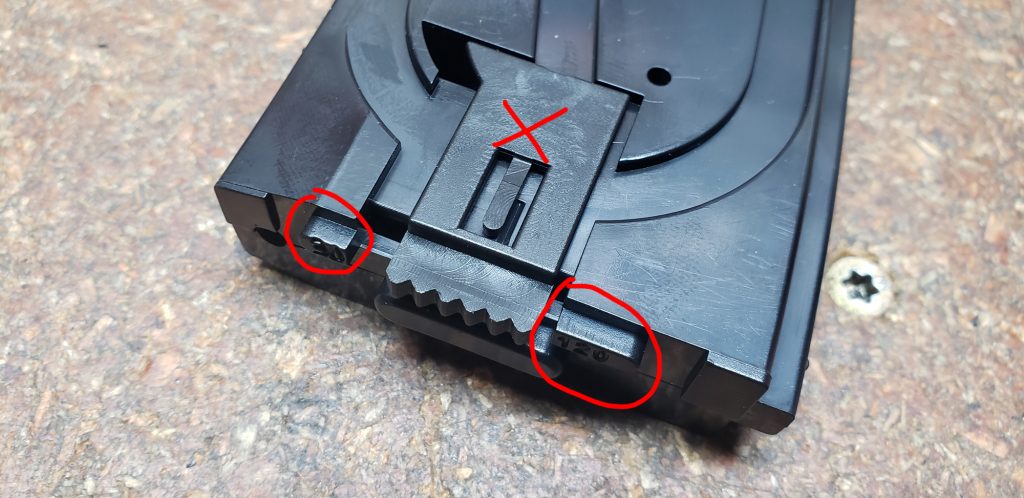
At the bottom of the magazine internals you will see the capacity selector switch and two molded in tabs, marked “30” and “120” respectively. The selector switch is easily removed by just lifting it up and out (X’d out in the image below). The two molded in tabs will have to be removed flush to allow the Ranger Plate to slide on. This can be accomplished easily and cleanly with a sharp X-Acto knife, actually.
After this modification, you can slide your internal assembly back into the magazine body and slide on the Ranger Plate. The internals can then be pressed down from the top until the large rectangular block seats into cutout on the Ranger Plate.
As you might have surmised by now, there’s nothing keeping the internals fixed in place now that you have a Ranger Plate attached. The design of the Ranger Plate also prohibits you from installing the floor plate screw from below as with the original plate. So a new solution is in order. A simple and quick method would be to glue the internal section to the outer, but ideally one does not create a situation where their magazines are no longer user serviceable. Keeping that in mind, we will be installing a screw to pin the two assemblies together.
Step 2 – Pinning the Internals
It is important here that you ensure the internal assembly is fully seated into the Ranger Plate before moving to this next step. Misalignment will cause no shortage of issues.
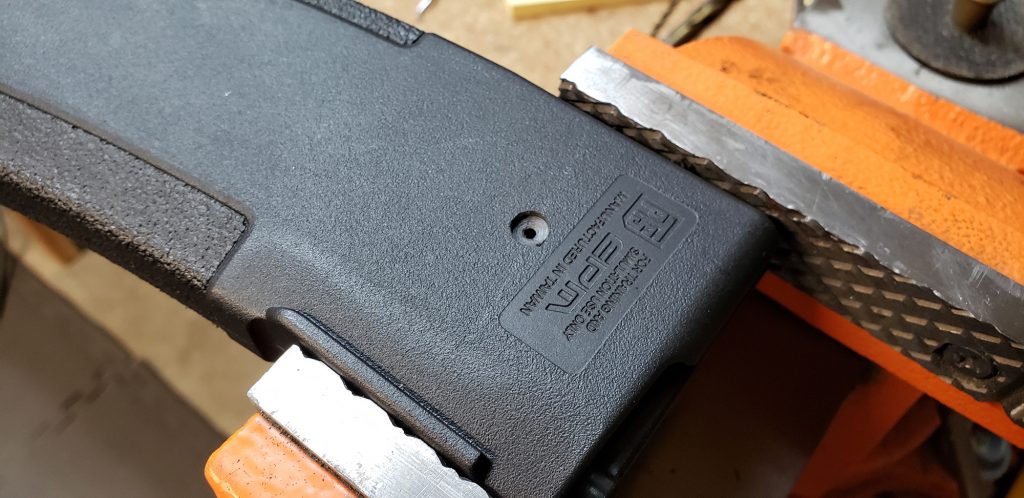
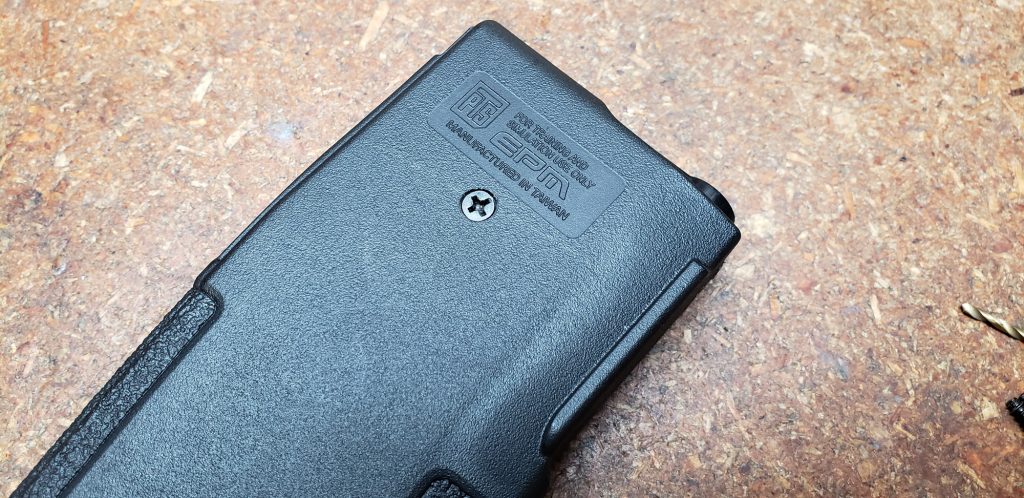
On the right side of the magazine, just below the “P” in “EPM” is where I chose to drill the body for a screw. Keep in mind, a little farther south is a mounting hole for the internal assembly that you do not want to drill through. I also chose this location as it would not be visible when the magazine is inserted into the rifle.
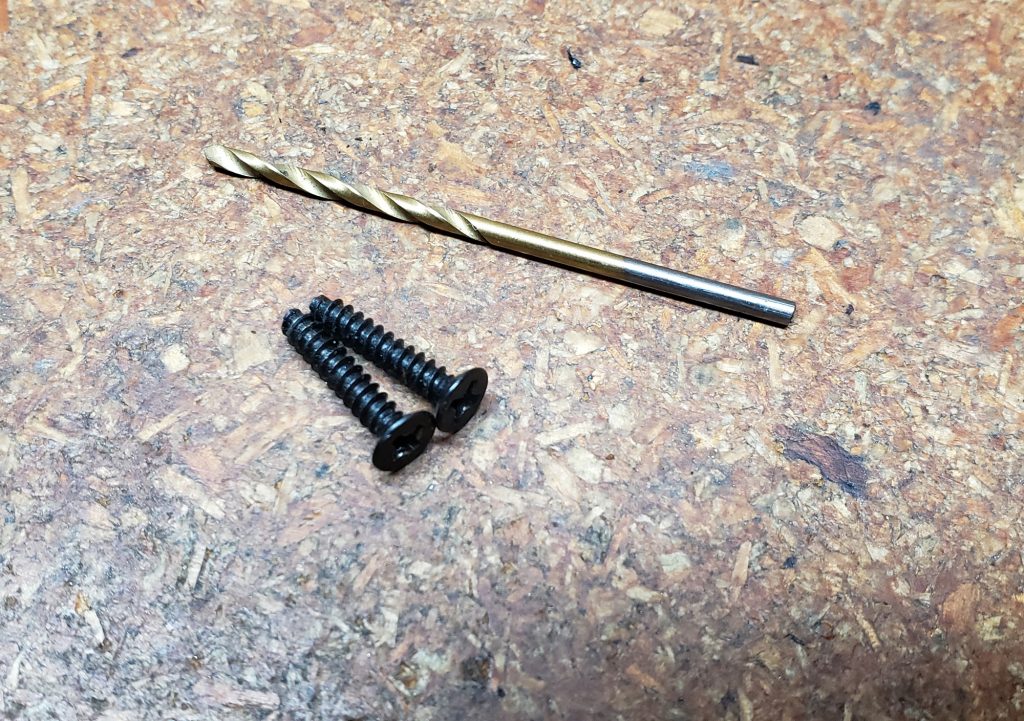
You will want to use a coarse-threaded countersunk (or bugle head) style screw for this. The size does not especially matter as long as it isn’t too long. You don’t want it longer than the width of the magazine body, as an example.
Now you will just need to drill a single hole below the “P” as previously mentioned. Be careful not to drill through the other side of the magazine here. You only need to go through the outer body and into one half of the internals. As well, the hole diameter should not be to large to inhibit your screw from threading into the material.
Countersink the hole (matching it to your screw head diameter) so you can ensure your screw goes in flush with the magazine body and doesn’t hang up on your magazine well.
Install the screw…
… And you’re done!