Having experimented quite a bit with various R-Hop designs lately, someone referred me to the Z-Kit from Hunter Seeker Armory as another possible approach to tackling the R-Hop.
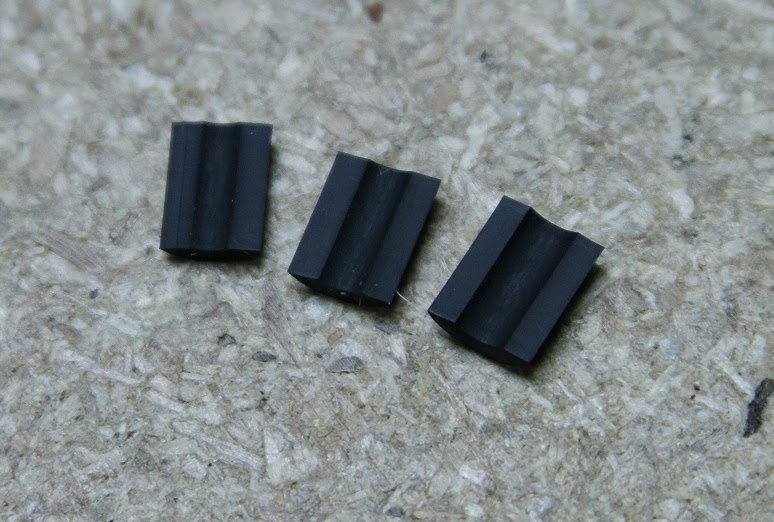
The Z-Kit is billeted as a 3-piece kit that is designed to cover most (if not all) hop up window designs out there. Basically you get what I would call a “small, medium, and large” set of contact patches, each of varying thickness. By and large, this set is designed to remove most of the hand fitting required on a traditional R-Hop contact patch. Depending largely on the hop up window design on your barrel, some hand fitting may be necessary. The Z-Kit does not require modification of your barrel itself. Technically it’s a 90% drop in system that may or may not require minor tweaking to the contact patch to make it work properly.
Installation
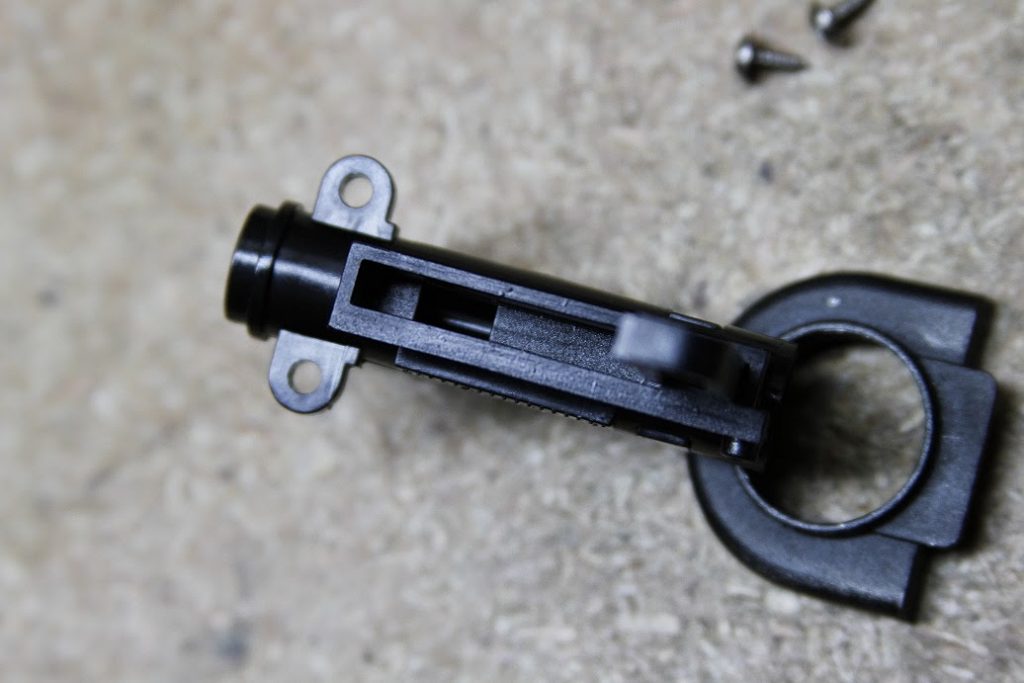
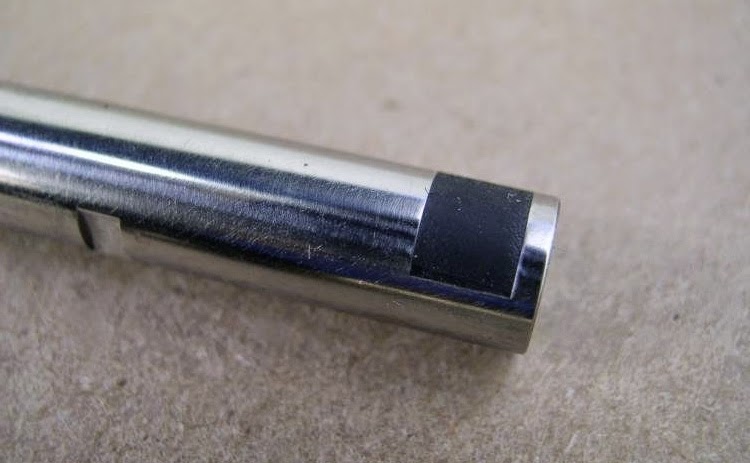 Installing the Z-Kit contact patch is fairly easy. First, completely disassemble your hop up chamber. Then, select the patch that best fits your hop up window. Typically this is the patch that doesn’t extend past the outer profile of the barrel – rather, it should match the curvature of the barrel as closely as possible. I selected the “medium” sized contact patch for my Prometheus barrel (in this case, a 208mm 6.03 EG). Contrary to a traditional R-Hop patch, no outside profiling or sanding was required to get the Z-Kit to flush up with the outside of the barrel. You will have to cut the contact patch to length. This can be accomplished with a razor blade for the best results, with maybe a little hand filing if you need further refinement.
There are two area’s of thought regarding the cutting to length of the contact patch – one suggests that you leave a slight gap at the forward edge of the patch to prevent “pinch jams.” The other is that you cut the patch to the exact size of the hop up window. I can honestly say that either approach works, the only difference being you get a slightly larger contact surface if you choose the latter. I have yet to experience a pinch jam myself, nor do I expect to. One note of caution: if you leave a small gap at the front, I found it is important that you glue the patch down as the passage of BB’s will eventually pull the contact patch forward and potentially cause patch shifting and problems.
Additionally, you need to slightly radius the forward edge (the part nearest the muzzle end) as a preventative measure against pinch jams. With the wide tolerances in ammo today, this makes prudent sense.
It should be noted that you still have to use a standard hop up bucking the the Z-Kit design – or any R-Hop design for that matter. Technically speaking, you need a modified hop up bucking that has had the locking spline and the mound removed. Simply take your preferred bucking, pull it inside out, and sand down the spline and mound. After you’re done, pull the bucking right side out again, and install. You want to install the modified bucking with the smoothest side (pick an unmodified side) over the contact patch.
Despite my intuition telling me otherwise, I reassembled the hop up chamber without profiling the inner curve of the Z-Kit contact patch. Using .30g Biovals, I immediately had a severe case of over-hop – this despite the hop up being turned completely off! Back to the work bench….
There are various ways of profiling the inner surface of the contact patch. You best bet is to find a file or Dremel bit that is as close to 6mm as possible. You can also use a shish-ka-bob stick wrapped in 400ish grit sandpaper to do this as well. After much experimentation, I ultimately found best results with a diamond coat Dremel bit. The hardest part is holding down the patch to work on it. One technique that worked decently well was to slightly pincer the patch between my index and thumb fingernails. In the end, about 15 minutes of work and experimentation was necessary to finally overcome the issue of over hop. Basically, I have learned that you want to ensure that none of the contact patch protrudes into the barrel chamber (or just barely, if you’re shooting heavy enough BB’s.) The hop up bucking will apply some slight pressure to the contact patch as well, so you must take this into account too when doing your profiling.
Ultimately, I don’t believe there is an R-Hop design out there that does not require some hand fitting. Considering that every barrel is different with unique hop up windows (some are shallow, some are deeper), it does not surprise. If you are adverse to this, then I wouldn’t recommend tackling the job.
An R-Hop seems to work best with a nub that provides full contact with the contact patch in as flat a manner as possible. I have experimented with a large variety of different nubs, SCS, Maple Leaf, Firefly, etc. While perfectly serviceable – they aren’t necessarily ideal, especially when you are trying to wring as much accuracy out of this system as possible. Enter the M-Nub.
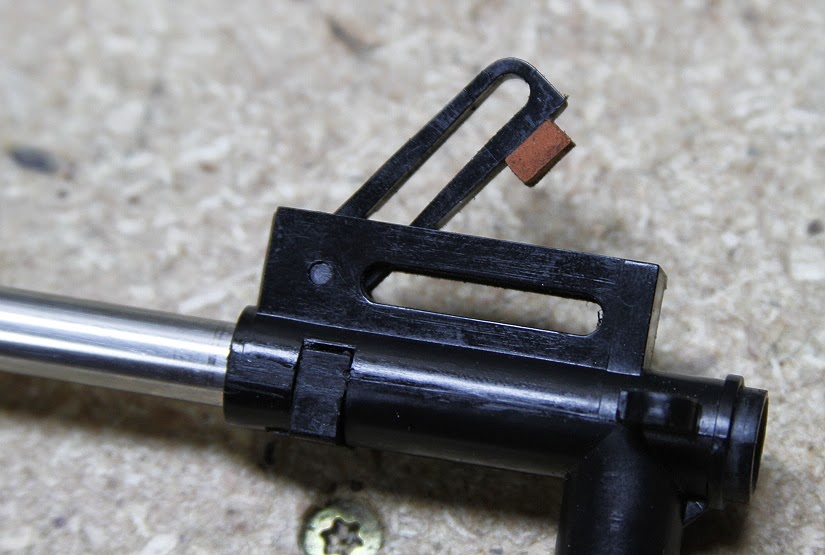
The M-Nub is basically a rectangular block of semi-soft (unidentifiable) rubber that has an adhesive side. It is designed to fit your nub arm window perfectly and lay against the R-Hop contact patch perfectly flat. To this end, some fitment may be required. I wound up shaving the tiniest slice off mine in addition to filing down one side so it had a slightly narrower profile. You don’t want it to unnecessarily drag on the inside of your hop up chamber window.
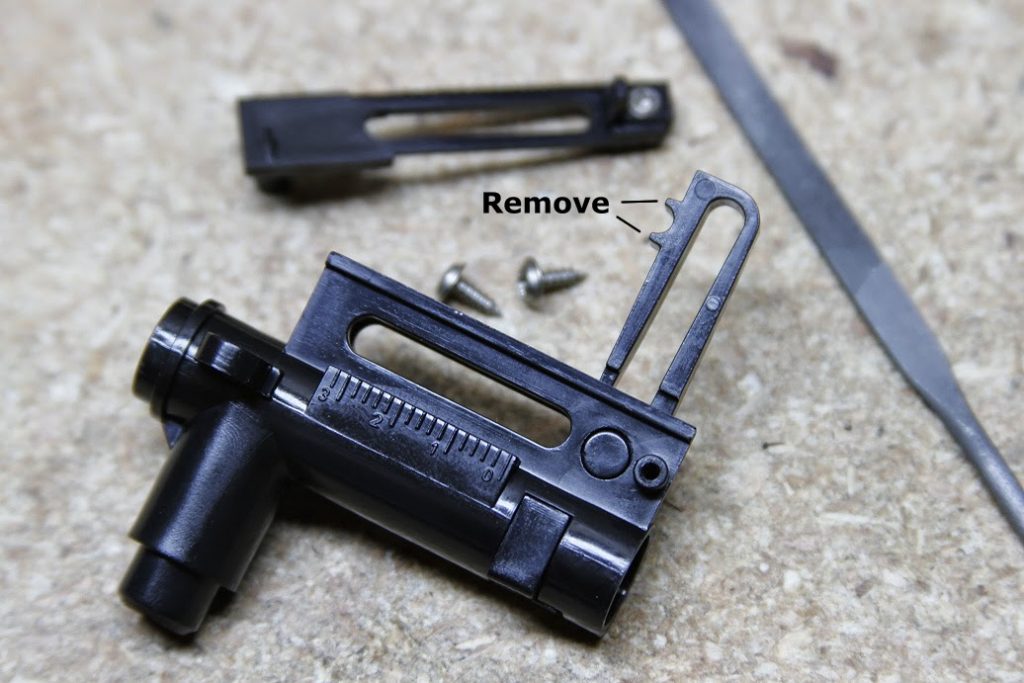
Take note: use of the M-Nub requires permanent modification of your hop up chamber arm assembly. You need to make a flat surface on your hop up arm for the M-Nub to adhere to. On my Version 3 AK hop up chamber, this meant simply filing down the curved section designed to hold a traditional style nub in place.
Total time necessary to fit the M-Nub properly took about 5 minutes. It’s ridiculously simple, actually.
Note: once you’ve got the M-Nub dimensionally correct, it is easiest to remove the adhesive backing from the M-nub and place it into the hop up window with a dental pick, then swing the arm into place (do this step with the R-Hop installed first as you don’t want the M-Nub to drop through the hop up window.) Give it a firm press and it should stick to the arm. Check for smoothness and function. You’re done!
|
|
Function and accuracy testing
I was looking to push the envelope with my customized Krinkov, so that is where these two pieces were installed. Prior to the install of the M-Nub and Z-Kit, it sported a traditional hop up bucking design, in this case, a Prometheus Purple.
Internal System specs:
- 400 FPS +/- 1-2 FPS
- Prometheus 208mm 6.03 EG stainless barrel
- Z-Kit
- M-Nub
- Gaurder SP-120 spring
- Prometheus Type E cylinder
- Bioval .30g BB’s
Upon testing, I noted that very little hop up is required. I would venture to say that with lighter weight BB’s you will experience gross over-hop. My experience has shown that R-Hop designs tend to really be designed around heavier BB’s. With .30g Biovals (my personal preferred choice for all my AEG assault rifles) the barest amount of hop up adjustment was necessary to sling the BB’s out on a nice flat trajectory.
Now trajectory is where the R-Hop designs really shine. With a properly installed system you should see much flatter trajectories out to your maximum engagement distance (whatever your setup is capable of doing). The other key area is what I would call shot spread, or grouping. With a traditional hop up design, you will get a fairly large group at your AEG’s maximal shooting distance. An R-Hop will grant you much tighter groups than stock performance. Depending on your setup, you should also see an increase in range.
With the above setup, I was able to achieve 10 out of 10 shots at 100 yards (verified with a range finder) on a target with an approximate width of 15 inches by 15 inches. This appeared to be the maximum effective range capable with this particular AEG setup, though one could reach farther with a bit of over-hop applied. My Real Sword SVD, with it’s own R-Hop design (not the Z-Kit) is capable of much further, but then it is also designed to be a dedicated sniping platform. Full auto groupings were dramatically tighter than those experienced with a standard bucking.
Function-wise, it fed every round for a grand total of 12 midcap AK magazines (150 round capacity.) I did not experience any pinch jams, barrel jams, or unwarranted shifting of the contact patch or M-Nub. Of special note, I did not glue down the contact patch like some folks recommend – rather I chose to let the hop up bucking keep it in place. If I find it problematic in the future, I may consider adhering the contact patch to the barrel.
Conclusions
Overall I am very pleased with the performance and install of the Z-Kit and M-Nub. From the various R-Hop designs I have tried, it has been the easiest to install and required the minimum amount of fitment. I would say that a fully tuned R-Hop that has been custom fitted from the very beginning would probably be slightly more accurate – but this may be apples to oranges comparison and hardly scientific consensus. By and large, however, I am greatly satisfied with the accuracy and range improvements an R-Hop provides over traditional style buckings, and even over a Flat Hop. Moreover, I have yet to read or hear of anyone who has legitimately worn an R-Hop out yet – this despite the design now being several years old now. So as a one time investment, it is easily worth the cost and sweat equity to install one. Provided you don’t mess up your first install of the R-Hop patch, you have enough material to do at least 3 hop up units (potentially even 6 if you cut them in half – though they would obviously require varying degree’s of fitment.)
The Z-Kit and M-Nub are available through Hunter Seeker Armory in addition to several other authorized vendors.
