 One of the very common problems with the A&K PKM series AEG’s is that it’s far too easy to build a gearbox that will outstrip the ability of the box magazine to feed it. Once you bypass the silly firing mode switch on the gun, the main problem source lies within the box magazine motor itself.
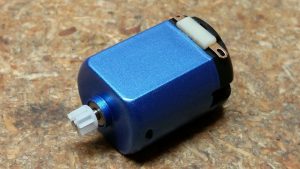
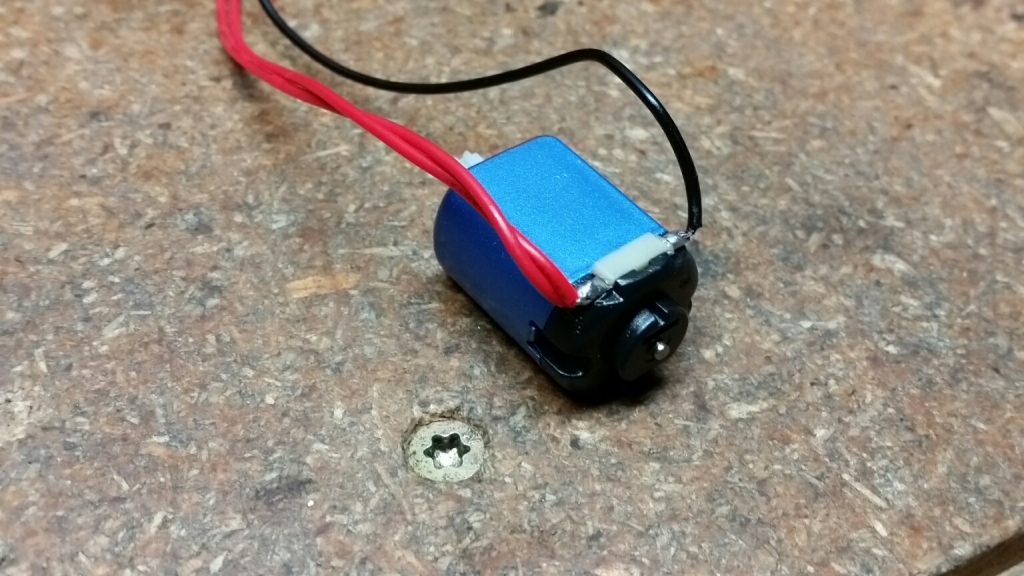
Enter the Matrix “Whirlwind” motor. Matrix is Evike’s house branded name for parts that are actually manufactured by another company. I have not yet determined who actually makes this motor, but I would presume it’s likely SHS or similar.
Motor features (per Evike’s copy):
- Metal alloy body with anodized blue finish
- Reinforced motor components
- Reinforced drive shaft
- Lipo compatible motor
- Can feed with a cyclic rate of up to 37 rounds per second
- Average retail cost of $15
Overall, the construction of the motor appears to be well done, and it’s certainly more aesthetically attractive than the OEM motor – not that this matters, as you’ll never see it once it’s in there. While it doesn’t feel any more “torquier” than the stock motor by touch, the components have a lot less slop on the pinion shaft.
I had a couple of PKM’s sitting in the shop, but ultimately convinced Chris Kosty, the owner of a rare Bingo Custom Works PolarStar PKM to let me drop this motor into his gun. And truthfully, what better platform to test the actual cyclic rate than a PolarStar? As it was, this gun was already having feeding issues with the PolarStar engine set to the “20” mark on the FCU’s ROF settings, which is comparatively low.
Installation
Once you have your motor in hand, you might as well start cooking your soldering iron. It literally takes less than 10 minutes to drop this motor in.
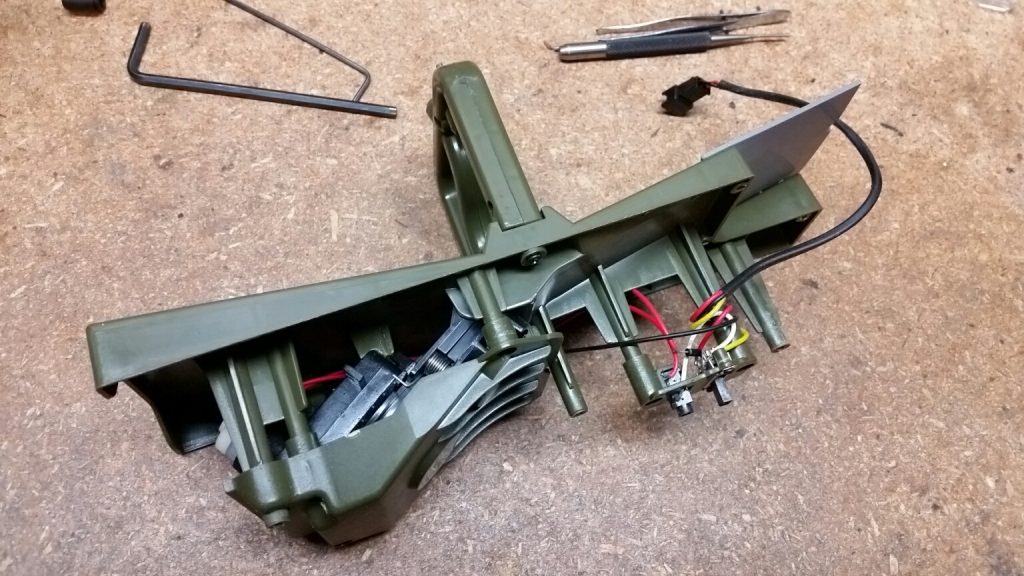
To begin, you start with disassembling the box magazine by removing the screws at the base of the box. Once you’ve done this, lift the feed lid and extract the internal mechanism in one piece. You will be looking at something like this:
The motor assembly is found on the left side of the tray, underneath a green plastic panel. Remove the four screws holding the panel down and you will be able to access the motor, which is held down with a small plastic bracket:
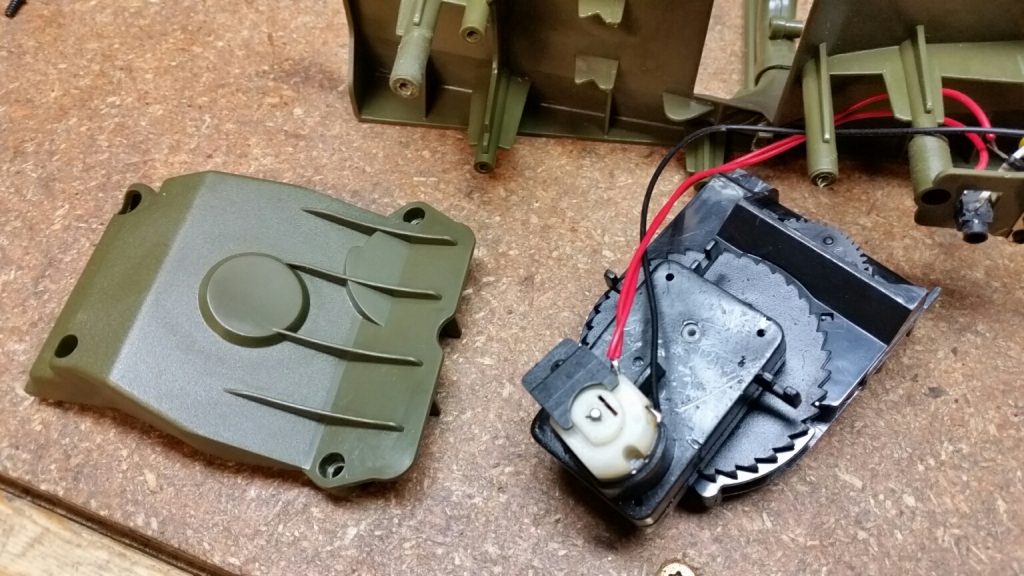 The bracket is held in place with a single screw, where once you have it removed, you can simply pull the motor straight up and out.
Now you will be looking at the motor itself. Take note of how the motor was mounted originally, and the location of the wires soldered on. You will need to replicate this again, as well to insure you don’t accidentally route the wires through any rotating parts. You will need to take your soldering iron and de-solder the wires on the OEM motor. These will of course need to be transferred over to the new motor.
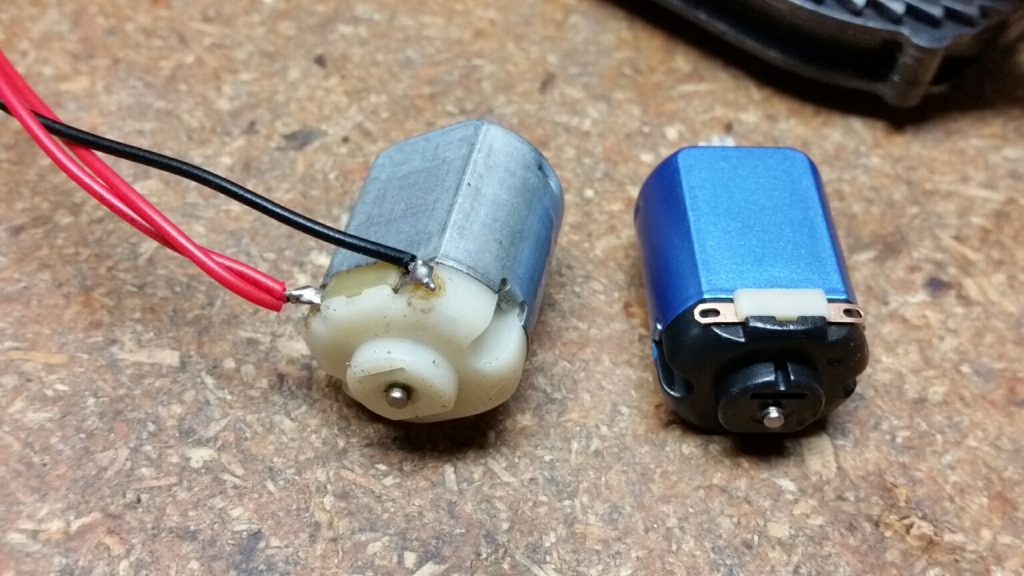 Neither motor is marked for polarity like a traditional AEG motor, nor are there any instructions included in the box suggesting which side is which. Again, just follow A&K’s example and solder your wires on in the same layout. I normally cut the old wiring and solder off and start with a freshly exposed and tinned wire for re-soldering. If your original soldering job on the stock motor looks a little janky, I’d suggest starting over anyway.
After you’ve soldered the wires on, reassemble the motor into the feed tray in the reverse steps above. Make sure when inserting the motor into its mounting slot that the teeth are properly meshing with the feed gear. They are made from plastic, so don’t force it or jam it in. It should go in smoothly.
Now, how does it work?
Remember how I said this gun was having issues attempting to feed at the “20” ROF setting on the FCU? Those issues are no more! It fed beautifully. Every. Last. Round. Once I was satisfied of its performance, I started tinkering with the FCU’s ROF adjustments and began dialing it in. Contrary to what you might think, ROF adjustments on the PolarStar go in the reverse and the numbers do not indicate the actual rounds per second. So the higher the number, the lower the ROF – the lower the number, the faster the ROF.
First I set it to 15, then 10, then 5, and finally 1. At the 5 mark (which is still very fast), it was still feeding perfectly, but once I moved past this position it began to have the occasional misfeeding hiccup. Unfortunately, my chrono was down for the count so I was unable to actually clock the RPS, but based off the sound I’d estimate it was doing over 30 RPS at this setting. This motor was easily capable of holding up to loooong strings of fire. I was having giggle-fits by the time I was done. Bottom line, I was suitably impressed with the night-and-day turnaround of this box magazine.
In closing, I would say this motor is certainly well worth the money to a PKM owner. Much like the Bullgear CNC hopup chamber, I would actually consider it an almost essential upgrade to these guns to maximize their performance. While some might complain about the price, when it comes down to reliability, I feel like you can’t really put a price on that.